
DuckStation BIOS Not Detected: Fixes for Windows and Android
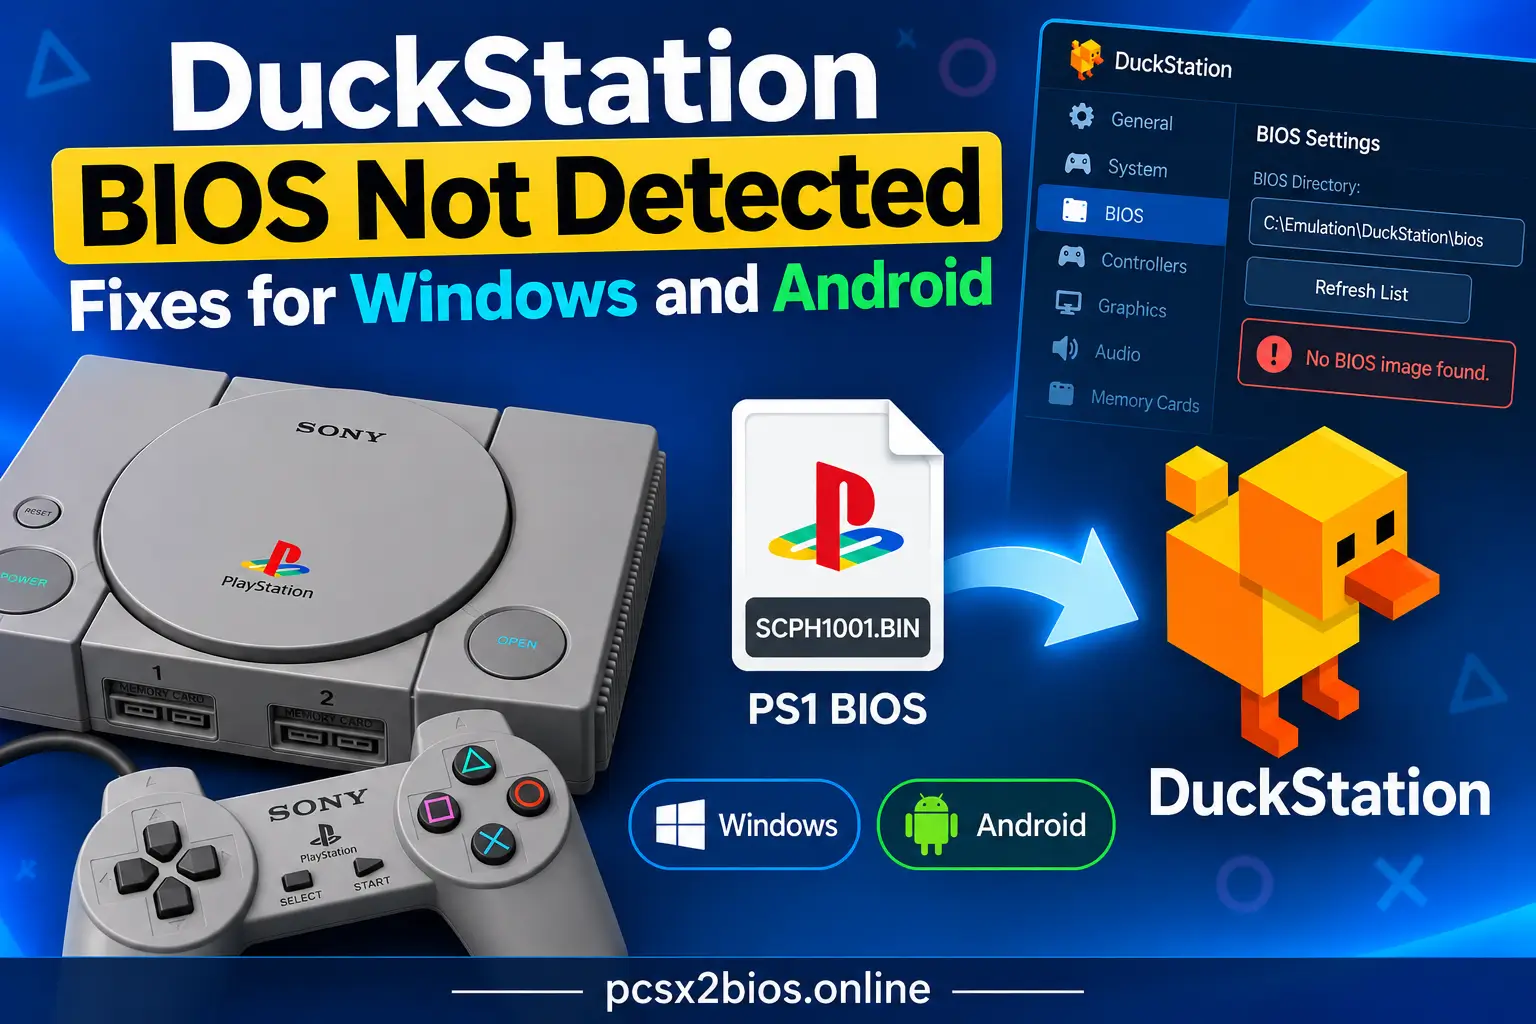
If DuckStation says “No BIOS image found,” check the BIOS Directory first. Open Settings → BIOS, make sure the extracted BIOS file is inside the folder DuckStation is scanning, then select Refresh List.
If the BIOS still doesn’t appear, check the folder structure, file size, BIOS validity, regional selection, and any manually selected BIOS path. Android users should also check DuckStation’s access to the folder containing the BIOS.
This guide covers the most common DuckStation BIOS problems, including BIOS not showing up, No BIOS image found, Failed to load NTSC-U BIOS, and This BIOS image is invalid.
Why isn’t DuckStation detecting my BIOS?
DuckStation searches the configured BIOS directory for compatible BIOS images. You can also configure a specific BIOS file for a particular region. This means the BIOS can exist on your computer or phone but still fail to appear in DuckStation. The most common causes are:
- DuckStation is checking the wrong folder
- The BIOS is inside an extra subfolder
- The BIOS is still inside a ZIP, RAR, or 7z archive
- The BIOS image has an unexpected file size
- The BIOS image is damaged or invalid
- The BIOS list needs to be refreshed
- A manually selected BIOS path points to an old file
- The selected BIOS doesn’t match the region DuckStation is trying to use
- Android hasn’t given DuckStation access to the folder
Start with the folder location before changing BIOS files or other emulator settings.
Step 1: Check the BIOS Directory
The BIOS Directory tells DuckStation where to search for BIOS images. On Windows and other desktop versions:
- Open DuckStation.
- Go to Settings → BIOS.
- Find BIOS Directory.
- Check the folder shown there.
- Open the folder and look for your BIOS file.
If the BIOS isn’t there, either move it into that directory or change the BIOS Directory to the folder where your BIOS is stored.
Use Open in Explorer
If your DuckStation version has Open in Explorer…, use it from the BIOS settings. This opens the directory DuckStation is currently configured to use. It is a quicker way to confirm that you’re working with the correct folder. If the folder opens and your BIOS file is missing, copy or move the extracted BIOS into that directory.
Step 2: Put the BIOS directly in the configured folder
Check whether the BIOS is buried inside another folder.
A simple setup looks like this:
bios/
└── SCPH1001.BIN
If you have multiple BIOS files, they can be stored together:
bios/
├── SCPH1000.BIN
├── SCPH1001.BIN
└── SCPH1002.BIN
If your BIOS looks like this:
bios/
└── PS1 BIOS/
    └── SCPH1001.BIN
move the BIOS file directly into the configured BIOS directory:
bios/
└── SCPH1001.BIN
An extra folder can prevent DuckStation from finding a file when it scans the directory. This is also worth checking if you’re using a setup such as EmuDeck that creates its own BIOS directory.
Step 3: Refresh the BIOS list
After moving or importing the BIOS, open:
Settings → BIOS → Refresh List
Then check the BIOS entries again.
Refreshing tells DuckStation to scan the BIOS directory again. If the BIOS appears after the refresh, the file location was correct but the list had not yet reflected the change. If nothing appears, continue with the file checks below.
Step 4: Make sure the BIOS is extracted
DuckStation needs the actual BIOS image, not a compressed archive.
For example, if you have:
PS1-BIOS.zipextract the archive first.
You should end up with an image file such as:
SCPH1001.BINThe same applies to RAR and 7z files.
Don’t rename a ZIP file to .BIN. Changing the extension doesn’t change the contents of the archive, so DuckStation still won’t be able to load it as a BIOS image. After extracting the file, check whether the extraction created another folder. If it did, locate the actual BIOS image and place that file directly in the configured BIOS directory.
Step 5: Check the BIOS file size
If the BIOS is in the right folder but still isn’t detected, check its size. DuckStation checks BIOS image sizes when looking for supported BIOS files. A standard PS1 BIOS image is 512 KiB, or 0x80000 bytes.
On Windows, right-click the file and select Properties to check its size. If the file is significantly smaller or larger than expected, don’t try to correct it by renaming the file or changing its extension. You need a valid BIOS image.
Step 6: Check whether the BIOS is valid
A BIOS can be in the correct folder and still be unusable. There is a difference between these two problems:
- “No BIOS image found” means DuckStation couldn’t find a usable BIOS for the requested region.
- “This BIOS image is invalid” means DuckStation found the file but couldn’t use it as a valid BIOS image.
The filename doesn’t determine whether the BIOS is valid. A file named SCPH1001.BIN can still contain an invalid or damaged image. If you’ve confirmed the BIOS directory, extraction, and file size but DuckStation continues to reject the file, the BIOS dump itself may be incomplete or corrupted. For the BIOS source, use a dump created from a PlayStation console you own.
Step 7: Check the BIOS region
DuckStation separates BIOS selection by region:
- NTSC-J: Japan
- NTSC-U/C: US and Canada
- PAL: Europe and Australia
If the BIOS appears in DuckStation but a game produces a BIOS loading error, check the regional BIOS selection.
For example, if DuckStation reports:
Failed to load NTSC-U BIOS
check the NTSC-U/C BIOS entry first.
Also check whether a specific BIOS file has been selected for that region. You don’t need to install a large collection of BIOS files just to troubleshoot detection. Start with a valid BIOS that DuckStation can use for the region you need.
Step 8: Check for a manually selected BIOS
This setting can cause confusion when you’ve moved or replaced a BIOS file. DuckStation can search the BIOS directory automatically, but it can also use a specific BIOS file configured for a region.
For example:
Old BIOS selected
      ↓
Old file moved or deleted
      ↓
New BIOS placed in the BIOS folder
      ↓
DuckStation still points to the old file
If this matches your situation, open Settings → BIOS and check the regional BIOS selections. Make sure a manually selected BIOS still exists at its configured location. If a new BIOS has been detected, select the appropriate detected BIOS instead.
DuckStation says “No BIOS image found”
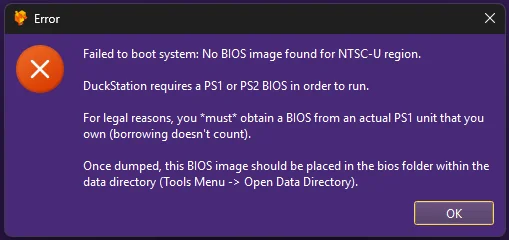
If DuckStation displays “No BIOS image found,” follow this order:
- Open Settings → BIOS.
- Check the BIOS Directory.
- Open that directory.
- Confirm the extracted BIOS is inside it.
- Make sure it isn’t hidden inside another folder.
- Check the BIOS file size.
- Select Refresh List.
- Check the NTSC-J, NTSC-U/C, and PAL entries.
- Check whether a specific BIOS path has been selected.
- If the file is still rejected, investigate the BIOS image itself.
The important point is that having a BIOS file somewhere on your device doesn’t mean DuckStation can use it. DuckStation needs to find and load the image from its configured location.
DuckStation says “Failed to load NTSC-U BIOS”
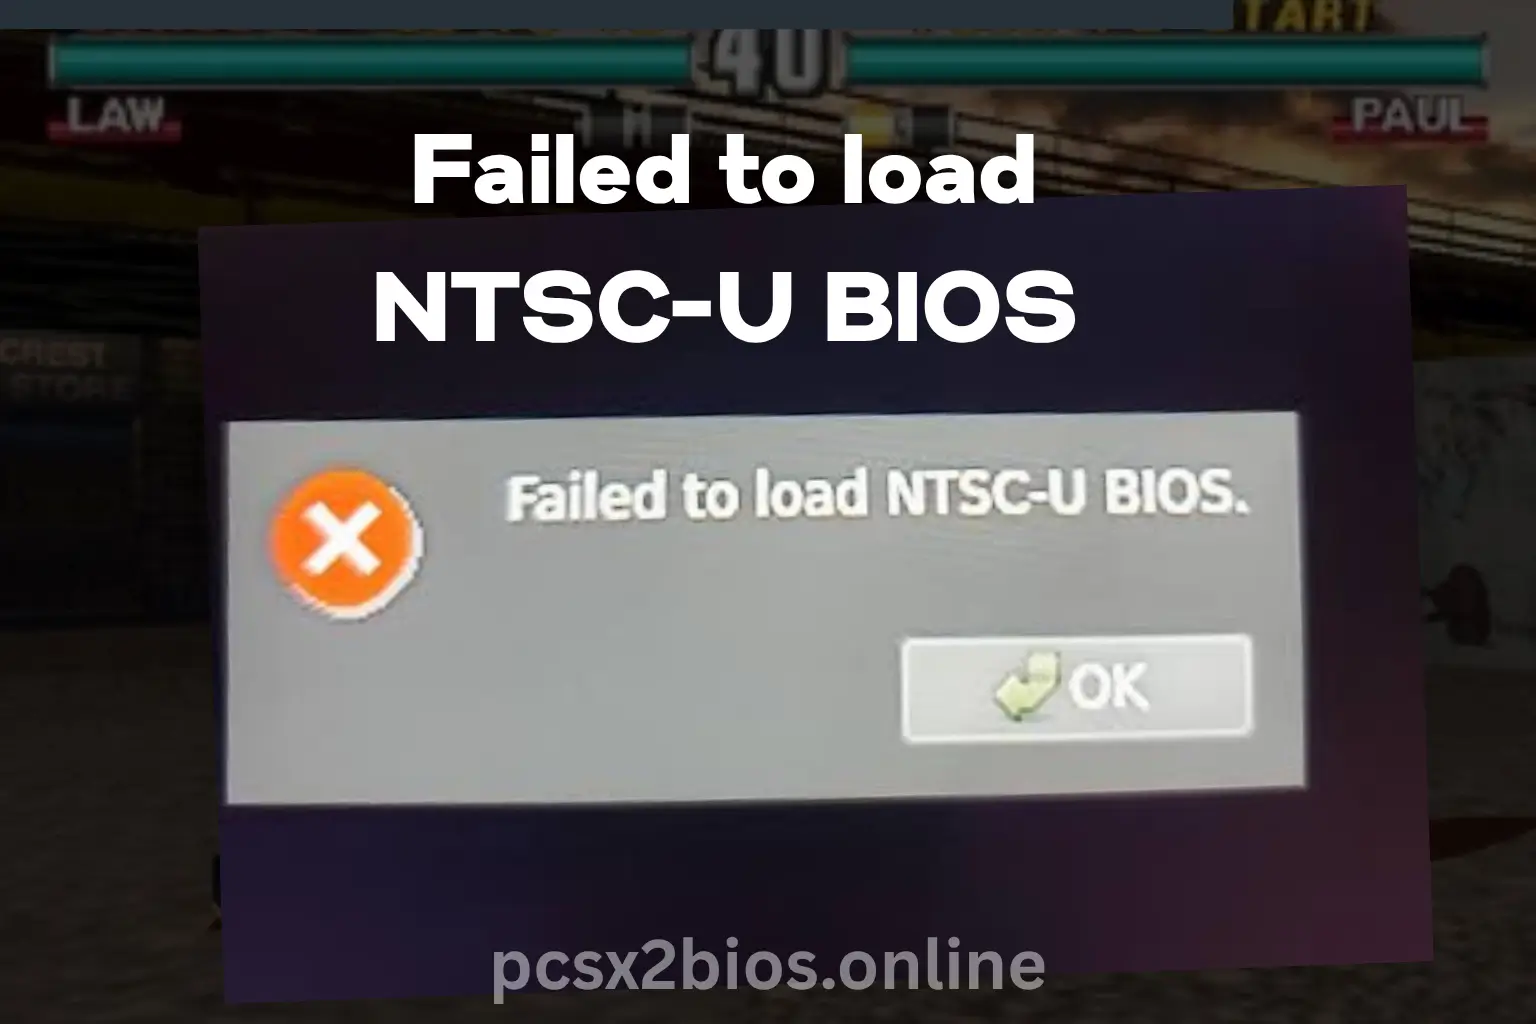
The NTSC-U/C setting covers the US and Canada region.
If you see this error, check:
- Whether an NTSC-U/C BIOS is listed
- Whether the selected BIOS file still exists
- Whether the BIOS is in the correct directory
- Whether you refreshed the BIOS list
- Whether the BIOS image is valid
- Whether you recently moved or renamed the file
- Whether a specific BIOS path is overriding automatic detection
If a BIOS appears in the list but DuckStation still tries to load a missing file, check the manually selected BIOS path.
DuckStation BIOS not showing up
If you can see the BIOS in File Explorer or your Android file manager but DuckStation doesn’t show it, check these items:
- Wrong directory: Compare the folder containing your BIOS with the BIOS Directory shown in DuckStation.
- Extra folder: Move the BIOS directly into the configured directory.
- Compressed file: Extract the BIOS from its ZIP, RAR, or 7z archive.
- Incorrect file size: Check that the PS1 BIOS image is 512 KiB.
- BIOS list not refreshed: Select Refresh List after making changes.
- Invalid image: If DuckStation still doesn’t recognize the file, the BIOS image itself may be the problem.
DuckStation BIOS not detected on Windows
Windows users can run into BIOS path problems after updating DuckStation, moving the emulator, reinstalling it, or switching between standard and portable installations.
Check the active data directory
DuckStation’s current Windows user directory is commonly:
AppData\Local\DuckStationOlder installations may use:
Documents\DuckStationPortable installations can use a different data location. Rather than guessing which directory is active, open DuckStation and use:
Tools → Open Data Directory
Then check the BIOS location from the active installation.
Check after reinstalling DuckStation
If you recently installed a new version, don’t assume the BIOS folder from your previous installation is still being used.
Open:
Settings → BIOS
and check the BIOS Directory again.
If it points to a new location, either move the BIOS there or select the folder containing your existing BIOS.
Windows troubleshooting order
For a Windows installation, use this sequence:
Settings → BIOS → BIOS Directory → Open in Explorer → check BIOS file → Refresh List
If the BIOS appears after these steps, there was a directory or scanning issue.
DuckStation BIOS not detected on Android
Android can require additional checks because DuckStation needs access to the location where the BIOS is stored.
Use DuckStation’s BIOS import option
If your Android build provides a BIOS import option, use it to select the BIOS through DuckStation. This is useful when Android doesn’t allow you to manually copy files into an application-owned directory. After importing the BIOS, return to the BIOS settings and check whether it appears.
Check storage access
If you selected a folder through Android’s file picker, make sure DuckStation still has access to it. This can matter if you moved the BIOS between internal storage and an SD card or moved it to another folder after selecting the original location. If necessary, use DuckStation’s file picker again and select the folder containing the BIOS.
Check the BIOS file
Confirm that the file:
- Has been extracted
- Is an actual BIOS image
- Has the expected size
- Is stored somewhere DuckStation can access
Then refresh the BIOS list or restart DuckStation.
Check newer Android storage restrictions
Newer Android versions can restrict access to certain application and storage directories. If Android prevents you from copying a BIOS into an app-owned folder, use DuckStation’s available import or file picker instead. That avoids depending on a storage location that Android may restrict.
BIOS detected, but the game still won’t start
If the BIOS appears correctly in DuckStation, the BIOS detection problem is solved. Move on to the game itself.
Check:
- Whether the game image is valid
- Whether the game file is damaged
- Whether the game’s region is appropriate for the selected BIOS
- Whether a per-game BIOS override is configured
- Whether another PS1 game boots normally
Testing another game is useful here. If another game starts successfully, the BIOS is working and the original game file or its configuration needs further investigation. Replacing the BIOS repeatedly won’t fix a problem caused by the game image.
DuckStation BIOS detected but marked “Invalid”
An invalid BIOS needs a different troubleshooting path from a missing BIOS. First, check the file size. A standard PS1 BIOS image is 512 KiB. If the size is correct, check the image itself.
The filename doesn’t guarantee that the BIOS is valid. DuckStation reads the BIOS image rather than trusting the filename. If the image continues to fail validation, use a fresh BIOS dump from a PlayStation console you own.
When should you replace the BIOS?
Consider replacing or re-dumping the BIOS when:
- DuckStation reports that the BIOS is invalid
- The file has an unexpected size
- The BIOS never appears after refreshing
- The image appears incomplete or corrupted
- DuckStation cannot load it even though the directory is correct
If DuckStation is already detecting and using the BIOS, replacing it isn’t the next troubleshooting step. Check the game file instead.
How to know the BIOS problem is fixed
Your BIOS setup is working when:
- The BIOS appears under Settings → BIOS
- DuckStation can identify or use the BIOS
- The required regional BIOS is available
- “No BIOS image found” no longer appears
- BIOS loading errors disappear when starting a PS1 game
If a game still refuses to start after the BIOS is detected, troubleshoot the game separately.
DuckStation BIOS troubleshooting checklist
| Problem | Check first | Next step |
|---|---|---|
| BIOS not detected | BIOS Directory | Open the configured folder |
| BIOS doesn’t appear | File location | Put it directly in the BIOS directory |
| BIOS is in ZIP/RAR/7z | Archive | Extract the actual image |
| BIOS list is empty | BIOS Directory | Select Refresh List |
| BIOS is rejected | File size and validity | Check the BIOS image |
| No BIOS image found | Directory and region | Check the BIOS path and regional selection |
| Failed to load NTSC-U BIOS | NTSC-U/C selection | Check the selected BIOS path |
| BIOS was moved | Manual BIOS selection | Check whether DuckStation points to the old file |
| Windows installation changed | Data directory | Check the current DuckStation directory |
| Android can’t access BIOS | Storage access | Use the import or file picker |
| BIOS works but game won’t boot | Game file | Troubleshoot the game separately |
Frequently asked questions
Why can’t DuckStation find my BIOS?
DuckStation usually can’t find the BIOS because it is scanning a different directory, the BIOS is inside an unexpected folder, or the image cannot be loaded. Check Settings → BIOS, verify the BIOS Directory, place the extracted BIOS directly inside it, and refresh the list.
Why does DuckStation say “No BIOS image found”?
DuckStation couldn’t find a usable BIOS for the requested region. Check the BIOS Directory, file location, file size, BIOS validity, regional selection, and any manually selected BIOS path.
Why isn’t my BIOS showing up?
Make sure the BIOS is extracted and placed directly inside the configured BIOS directory. Then select Refresh List. If it still doesn’t appear, check the BIOS image itself.
Why does DuckStation say “Failed to load NTSC-U BIOS”?
DuckStation is trying to load an NTSC-U/C BIOS but cannot use a suitable image. Check the NTSC-U/C selection, BIOS directory, file validity, and any manually configured BIOS path.
Can I use the same PS1 BIOS on Windows and Android?
Yes, a compatible BIOS image can be used with DuckStation on both platforms. Each installation still needs access to the file through its own configured directory or import process.
Conclusion
If DuckStation isn’t detecting your BIOS, start by checking the BIOS Directory and make sure the extracted BIOS file is placed directly inside it. Refresh the BIOS list, then check the file size, validity, and regional BIOS selection if the problem continues.
On Windows, Settings → BIOS and Tools → Open Data Directory can help you find the correct location. On Android, use DuckStation’s available import or file picker and make sure the app can access the selected storage location.
If DuckStation detects the BIOS but a game still won’t start, the BIOS is no longer the main issue. Check the game file and its settings instead.