How to Dump PS2 BIOS with Free mcboot?
To dump your PS2 BIOS using Free McBoot, you need a PlayStation 2 console, a Free McBoot memory card, a USB flash drive, and a BIOS dumper file. Choosing to dump PS2 BIOS this way is important because it helps avoid problems with emulator errors, black screens, or game crashes.
Many BIOS files available online are incomplete or damaged. Some don’t even work with PCSX2. When you dump it yourself using trusted tools, the file matches your system and works more reliably.
This guide is made for people who use emulators, fans of PS2 games, and anyone who wants smoother gameplay on a computer. Before you start, make sure you have the right tools.
What Is a PS2 BIOS?
A PS2 BIOS is a file that helps the PlayStation 2 and emulators like PCSX2 run games properly. The emulator needs this file to work like a real console. Downloaded BIOS files from the internet are often broken or unsafe. The better option is to dump PS2 BIOS using trusted tools, which gives you a clean file that works smoothly with PCSX2.
How to Dump PS2 BIOS with Free mcboot
Tools You Need Before You Start
Before you can dump PS2 BIOS, you need a few important tools. These are simple items, and you may already have some of them. Each one plays a key role in helping you safely copy the BIOS file from your console to your computer.
1- A PS2 Console (Any Model Works)
A working PlayStation 2 console is required to access and copy the BIOS file. It can be any model. Both the slim and fat versions are supported. There is no major difference between the two when it comes to BIOS dumping. As long as your console turns on and reads memory cards and USB drives, you are good to go.
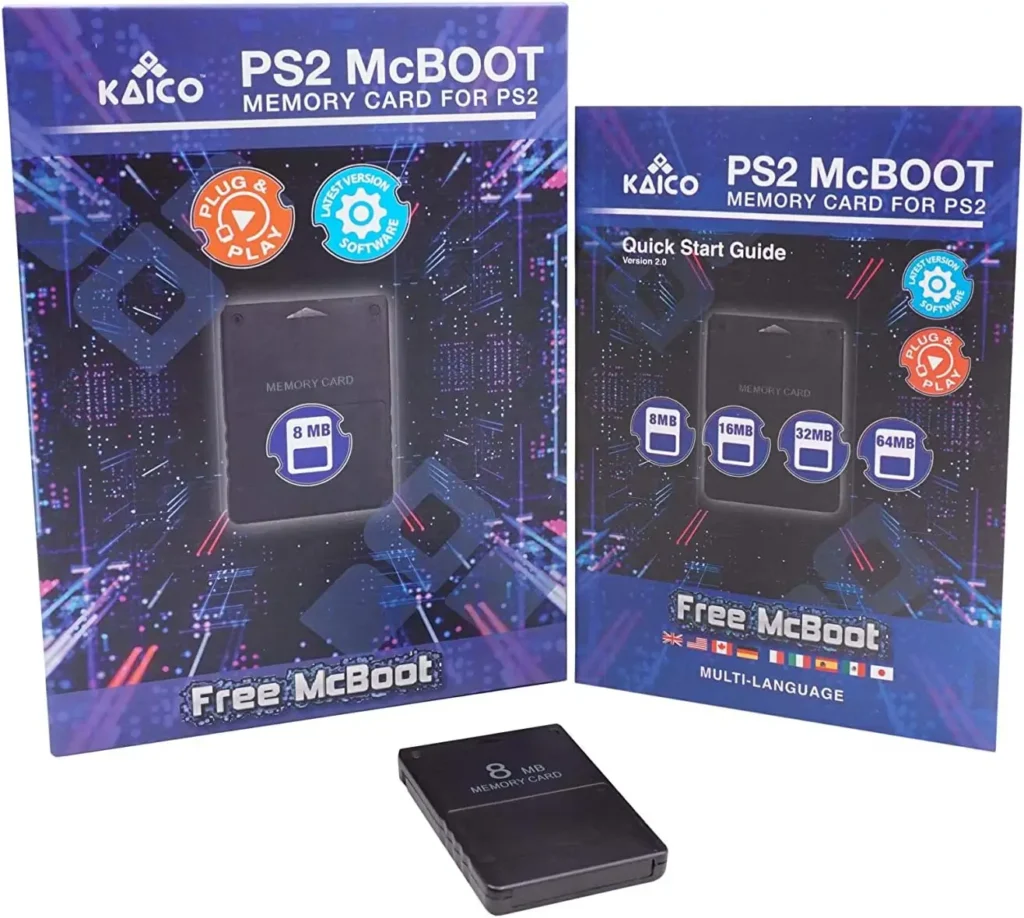
2- A Memory Card with Free McBoot Installed
Free McBoot is a special program that runs from your PS2 memory card. It lets you open apps on your PS2, like the tool needed to copy the BIOS. Some memory cards come with Free McBoot already installed. If not, you can install it by following a step-by-step guide. Once it is installed, your PS2 will automatically show the Free McBoot menu when you turn it on.
3- A USB Flash Drive in FAT32 Format
You need a USB flash drive to save the BIOS file. It must be in FAT32 format because that is what the PS2 understands best. Even a small drive will work as long as it has enough free space. Make sure the drive is clean and empty to avoid problems during the transfer.
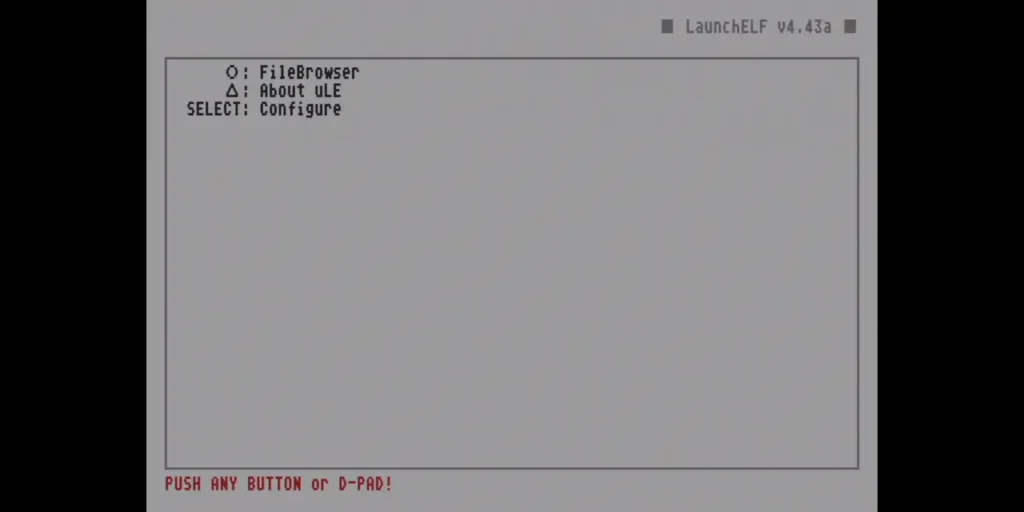
4- uLaunchELF and BIOS Dumper Files
These two files do the main work. uLaunchELF helps you explore the PS2 file system and run apps. The BIOS dumper is the tool that copies your BIOS from the console to the USB drive. You can find both of these files on trusted emulator forums and websites. Make sure you download the correct and updated versions before moving to the next step.
Step-by-Step Guide to Dump PS2 BIOS Using Free McBoot
Once you have all the tools ready, the process to dump your PS2 BIOS is simple. Follow these clear steps one by one to complete the process without errors.
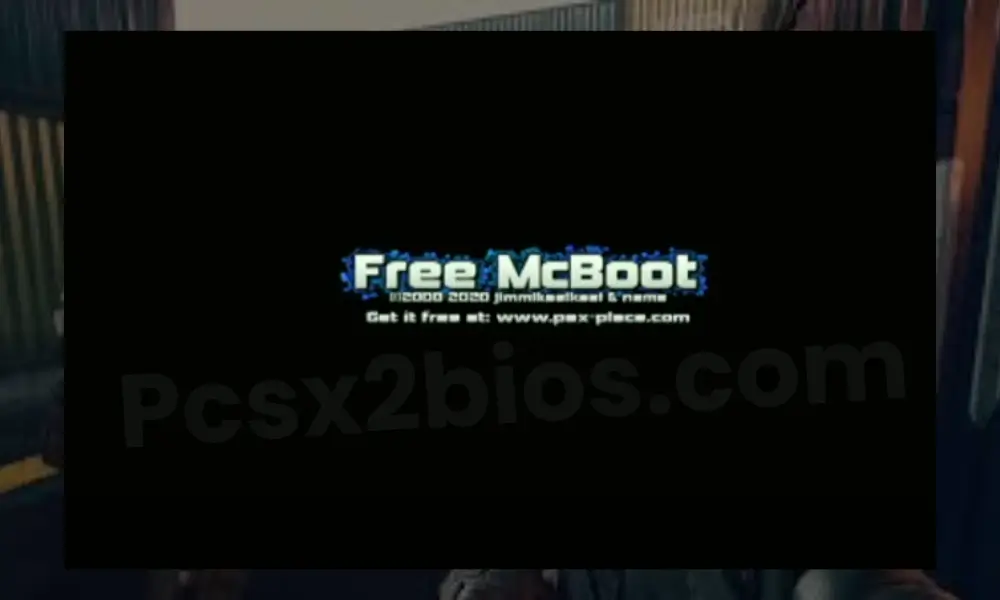
Step 1: Insert Free McBoot Memory Card and Start the PS2
Start by getting your PS2 ready. This step loads the Free McBoot menu, which gives you access to the tools needed for BIOS dumping.
- Turn off your PS2 completely
- Insert the Free McBoot memory card into slot 1
- Turn the PS2 back on
- Wait for the Free McBoot main menu to appear
Step 2: Launch uLaunchELF from the Main Menu
Now you’ll use uLaunchELF to browse files and run the BIOS dumper. It’s a simple menu-based tool included with Free McBoot.
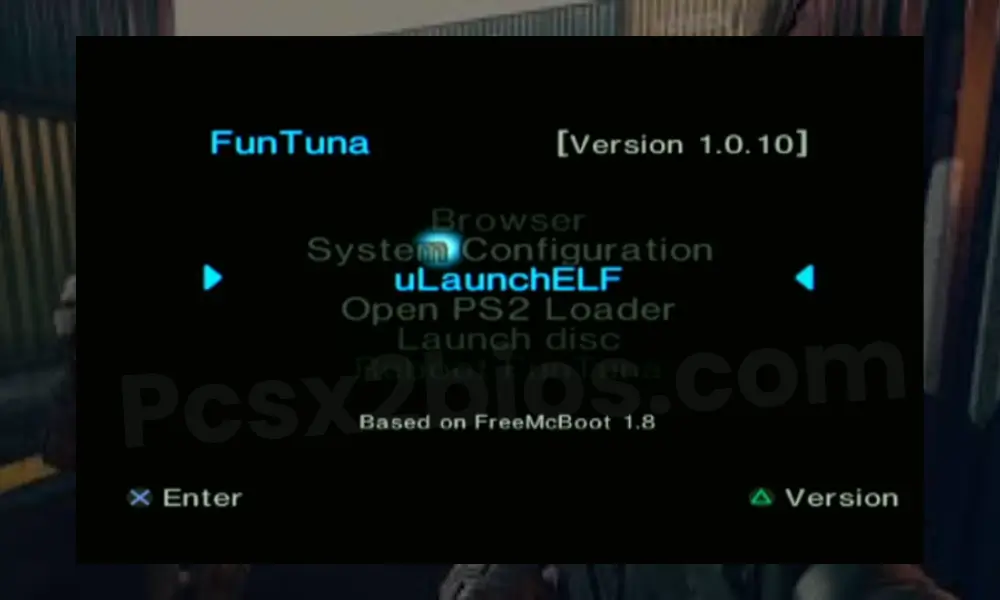
- Use the controller to select uLaunchELF from the Free McBoot menu
- Press the confirm button to launch it
- Wait for theuLaunchELFfile browser screen to load
- You’ll see folders like mass, mc0, and mc1
Step 3: Load the BIOS Dumper from USB
In this step, you will run the dumper tool from your USB drive. Make sure the file is saved in the root directory of the drive before starting.
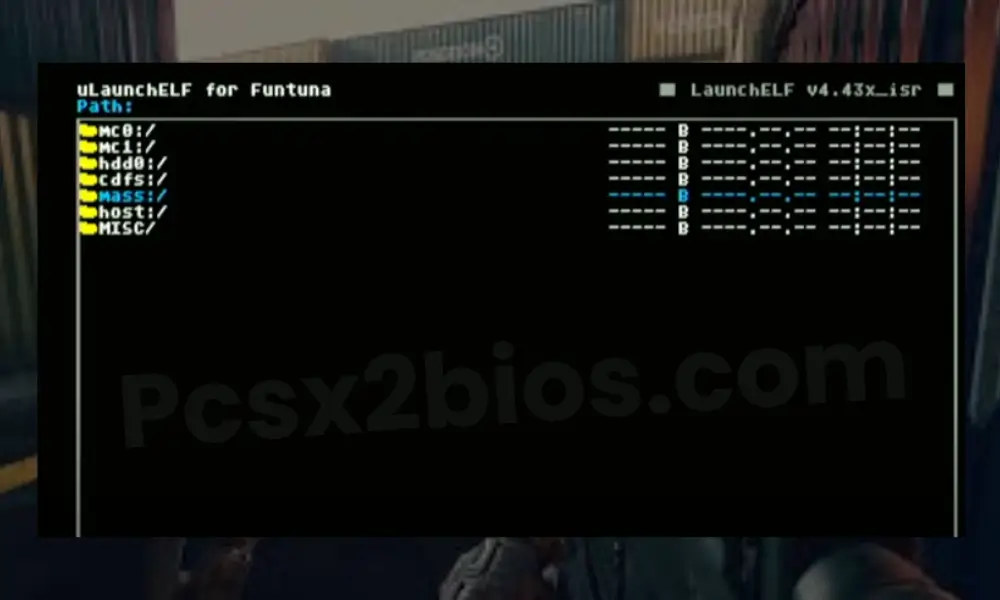
- Plug the USB flash drive into a front USB port on the PS2
- In uLaunchELF, scroll and select the folder namedmass
- Find the BIOS dumper file (usually ends in.ELF)
- Select it and press the confirm button to run it
Step 4: Start the BIOS Dump Process
The dumper tool will now copy your BIOS files to the USB. It shows progress on screen and may take a few minutes.
- Wait while the tool starts the dumping process
- Do not remove the USB or turn off the console
- Watch the screen for file writing updates
- When finished, the screen will confirm that the BIOS has been saved
- Files created will include a .bin, .nvm, or .rom1 file
Step 5: Transfer BIOS Files to PC
Once the dumping is complete, you’ll move the BIOS files from your USB to your computer for use with PCSX2.
- Turn off the PS2 and remove the USB drive
- Insert the USB into your PC
- Open the USB folder and locate the BIOS files
- Create a folder on your computer named PS2 BIOS
- Copy all BIOS files into that folder
- Open PCSX2, go to the BIOS settings
- Select the PS2 BIOS folder to complete setup
Now your emulator is ready to run games using a clean, working BIOS file.
How to Use the Dumped BIOS in PCSX2
After successfully dumping your PS2 BIOS, the next step is to use it in the PCSX2 emulator. This lets you run your favorite PS2 games on your computer. Follow these simple steps to set it up.
Step 1: Open PCSX2 on Your Computer
First, launch the PCSX2 emulator that you’ve installed on your system.
- Double-click the PCSX2 icon
- Wait for the program to fully open
- If it’s your first time opening it, a setup wizard might appear
Step 2: Locate and Add Your BIOS Folder
Now you need to tell PCSX2 where your BIOS files are saved. This helps the emulator read your console’s system data correctly.
- Go to the Settings or BIOS tab in PCSX2
- Click on the option to browse for a BIOS folder
- Find the folder where you saved your dumped BIOS files
- Select the folder and confirm
Step 3: Choose Your Dumped BIOS File
Once the BIOS folder is selected, you’ll see your dumped BIOS listed in PCSX2.
- Look for your BIOS in the list that appears
- Select it by clicking on it
- Confirm or apply the changes
Step 4: Test It with a PS2 Game
After setting up the BIOS, you can now try running a PS2 game to make sure everything works smoothly.
- Load a PS2 game ISO file in PCSX2
- Click to boot the game
- If the BIOS was added correctly, the game should start without issues
Common Issues and Fixes
Sometimes things don’t go smoothly while dumping the PS2 BIOS or setting it up in PCSX2. Below are some common problems and their simple fixes.
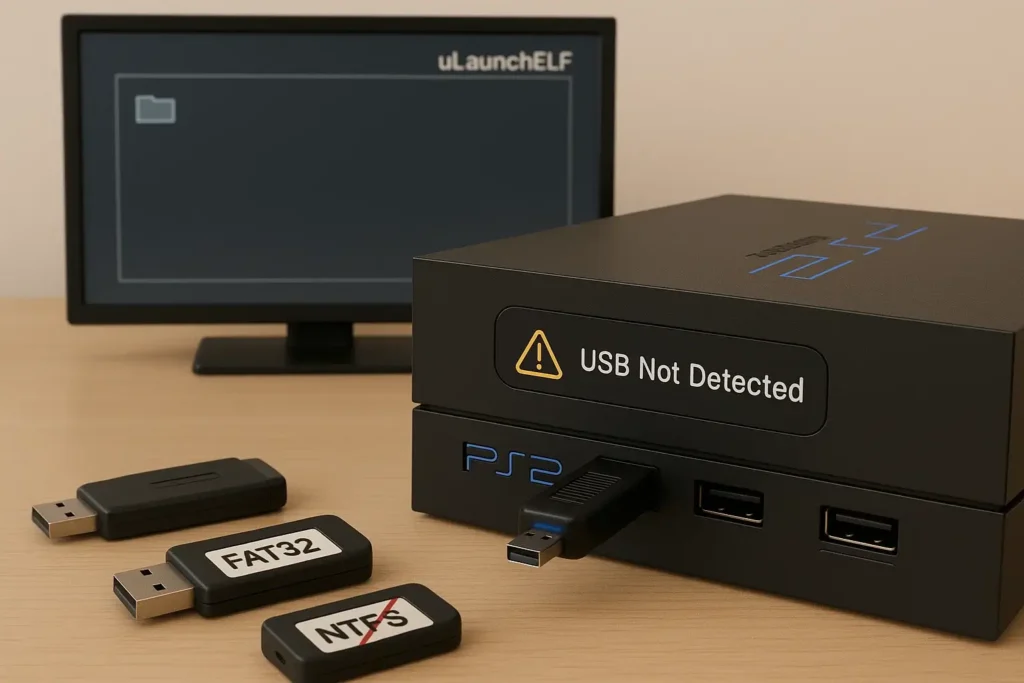
Issue: USB Not Detected in uLaunchELF
uLaunchELF sometimes doesn’t show your USB drive, which can stop you from loading the BIOS dumper.
Fix:
Check if your USB is formatted as FAT32. uLaunchELF works best with this format and might not detect NTFS or exFAT drives. Also, try using a basic USB drive that is 8GB or 16GB in size. Avoid fancy ones with lights or extra features. If one USB port doesn’t work, try another one on your PS2.
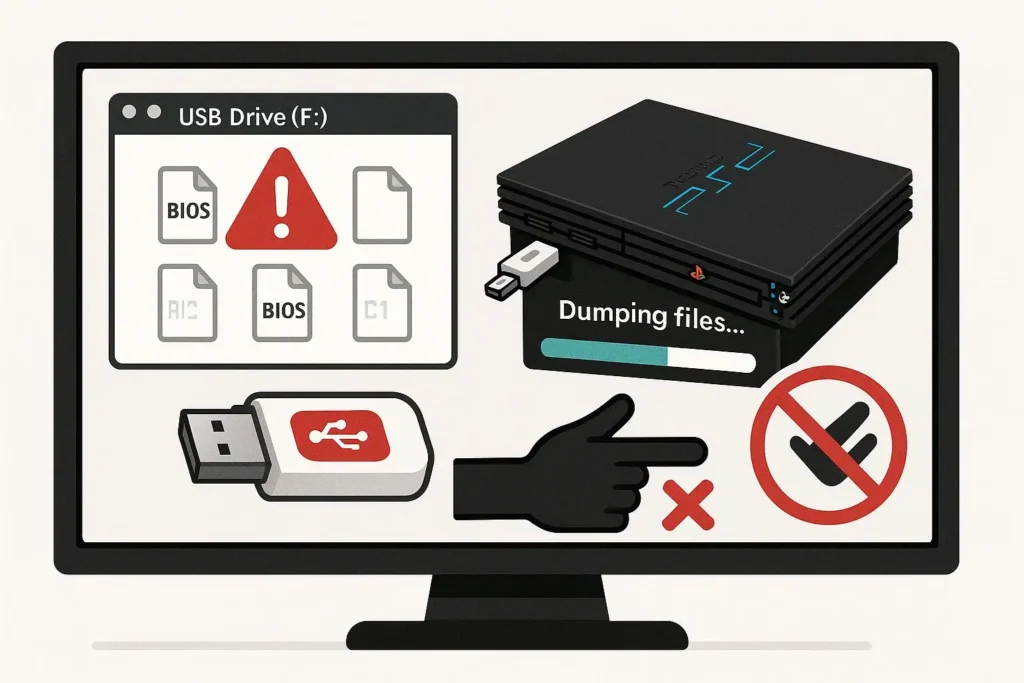
Issue: Dumped Files Are Incomplete or Missing
You may complete the dumping process, but when you check your USB on the PC, some files are missing or not saved correctly.
Fix:
Run the dumping process again from the start. Make sure your USB has enough free space before you begin. Don’t unplug the USB until the dumping process is fully complete and you see a confirmation. If needed, use a different USB stick that is known to work with the PS2.
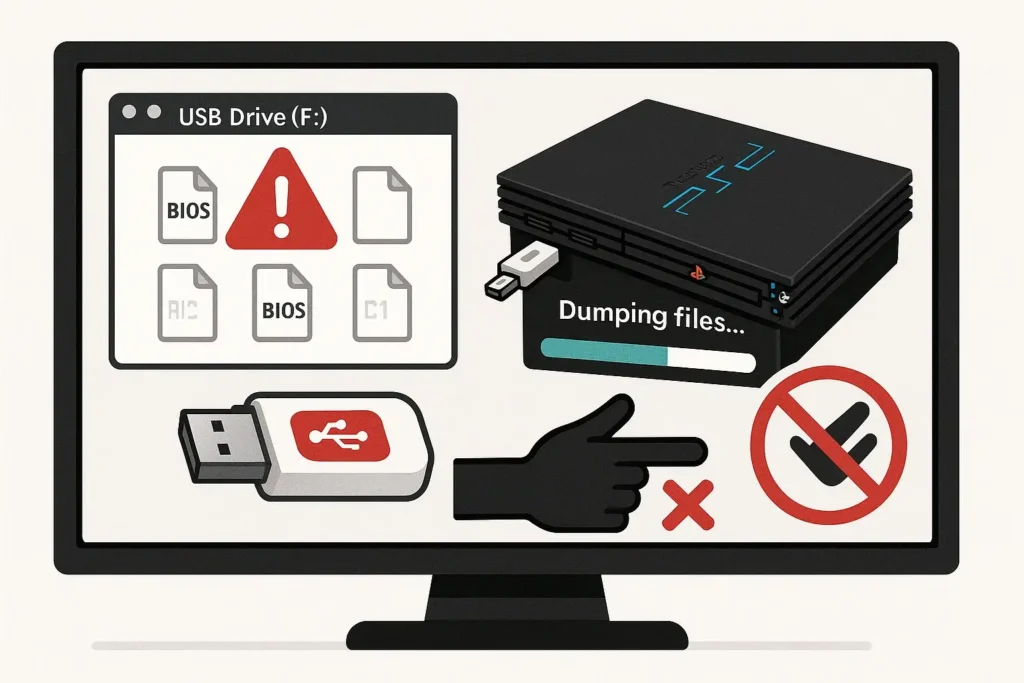
Issue: PCSX2 Not Recognizing BIOS
Even after transferring the BIOS files to your computer, PCSX2 may not show them in the BIOS list.
Fix:
Move all BIOS files into one folder. Avoid using nested folders or zip files. In PCSX2, go to the BIOS settings, select the correct folder, and click the refresh button. If the files are valid and in the right place, PCSX2 will show them in the list. Select the BIOS and apply the settings to finish setup.
Is This Method Safe and Still Working in 2026?
Yes, this method is still safe and works well in 2026. If done correctly, you can easily dump your PS2 BIOS and use it with emulators like PCSX2 without issues.
Compatibility with Latest PCSX2 Versions
Yes, the dumped BIOS still works with the latest PCSX2 versions in 2026. PCSX2 continues to support the use of legally dumped BIOS files from your own console.
Even though the emulator gets updated regularly, it remains backward compatible with these BIOS files. Just make sure the files are complete and properly placed in the BIOS folder of the new PCSX2 version. If needed, refresh the BIOS list from the settings.
Can You Use This on Slim or Fat PS2 Models?
Yes, this method works for both Slim and Fat models of the PS2. There might be slight differences in how the USB ports respond or how fast the console loads tools, but the overall dumping process stays the same.
You can use the BIOS dumper tool easily on both versions. Just be sure your console is working properly and your USB drive is supported.
Conclusion
Dumping your PS2 BIOS using Free McBoot is one of the safest and most reliable ways to set up the PCSX2 emulator. It ensures that your BIOS file is clean, fully compatible, and legally obtained. With the right tools and a little patience, you can avoid common emulator problems and enjoy smooth PS2 gameplay on your computer.
It does not matter if you are new to emulation or just want to improve your setup, following this method gives you the best results without relying on risky downloads. Now you are ready to experience top PS2 games the right way with fast performance, stable gameplay, and peace of mind.
Frequently Asked Questions
Can I use this method on both Slim and Fat PS2 consoles?
Yes, this method works on both versions. The process is the same, though there might be slight differences in how quickly each model responds.
How long does the BIOS dumping process usually take?
The actual dumping process only takes a few minutes once everything is set up and running correctly.
Are there any risks to my console when dumping the BIOS?
There are no major risks if you follow the steps properly. The tools used are safe and commonly used in the PS2 homebrew community.
What format should my USB drive be in for BIOS dumping?
Your USB drive must be formatted in FAT32 so that the PS2 can read it correctly.
How to Dump PS2 BIOS for PCSX2?
Use a PS2 console with a Free McBoot memory card and a USB drive. Launch uLaunchELF, run the BIOS dumper from the USB, and save the files. Move them to your PC and load them into PCSX2 through the BIOS settings.